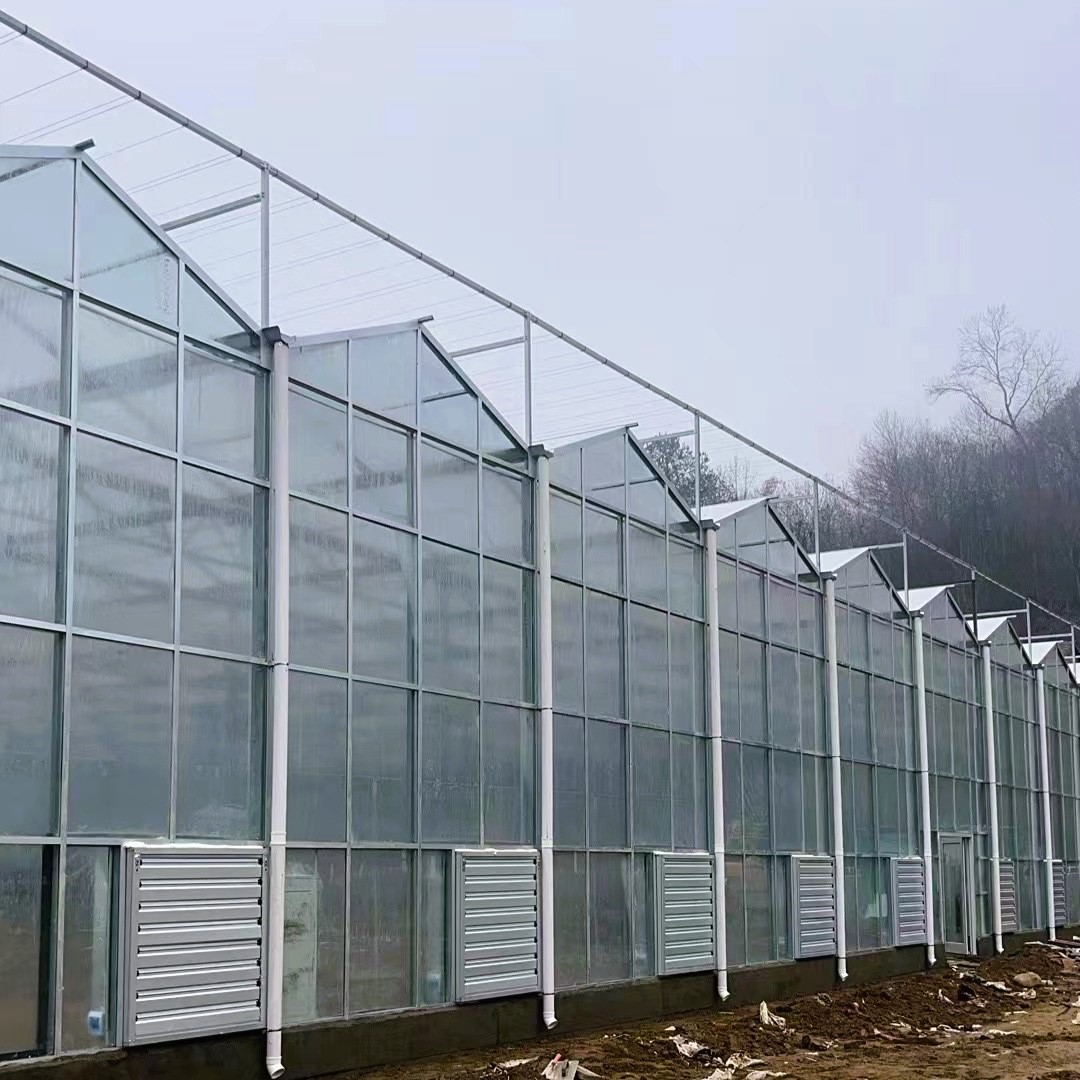
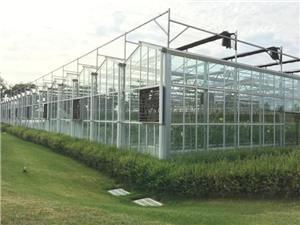
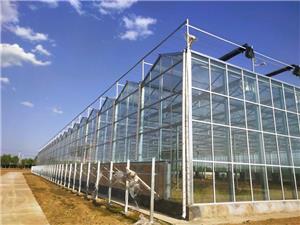
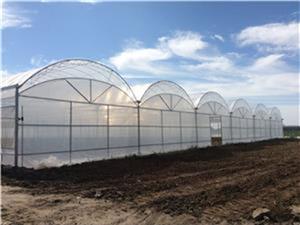
In plastic greenhouses, especially tomato greenhouses where temperature control directly impacts crop growth and yield, the cooling system with cooling fans and cooling pads is critical for maintaining a suitable growing environment. Scientific layout and installation of these devices maximize cooling efficiency, cut energy use, and keep temperatures stable (20-30℃ for daytime tomato growth). This article details key requirements for their layout, cooling fan height, and auxiliary design, offering a practical guide for plastic greenhouse operators.
1、Core Layout Principle: Opposite Arrangement for Maximum Airflow
Rational relative placement of cooling fans and cooling pads ensures effective air circulation and uniform cooling in plastic greenhouses. Poor spacing or orientation causes dead air zones, cooling fan cooling pad reduced cooling, and even local high-temperature damage (e.g., tomato leaf scorching).
1. Directional Arrangement: South for Cooling Fans, North for Cooling Pads
Install cooling fans on the south wall and cooling pads on the north wall of plastic greenhouses. This aligns with natural air flow in most regions and avoids direct sunlight on cooling pads (which lowers water evaporation and heat absorption). For tomato greenhouses, this cooling pad lets cool air from the north flow through the entire tomato area—including rockwool block seedling beds and mature plant rows—before being discharged by south-side cooling fans, ensuring full, uniform cooling.
2. Spacing Requirement: 30m-45m Optimal, Max 68m
The distance between cooling fans and cooling pads determines cool air residence time and airflow coverage. Practical tests show the optimal range is 30m-45m: within this, cool air fully exchanges heat, lowering internal temperature cooling fan by 5-8℃ without overworking cooling fans. plastic greenhouse exceeding 68m weakens cooling pad wind pressure, causing poor airflow in the plastic greenhouse middle, uneven temperatures (cooler north, hotter south), and failure to meet tomato flowering/fruit-setting temperature needs. For large-span plastic greenhouses, cooling fan control cooling pad length per this standard or cooling pad add circulation fans.
2、Installation Considerations for Cooling Pads
Cooling pads are the "cool air source" of the system. Their height, position, and inlet design affect efficiency, and must adapt to seasonal changes (e.g., winter insulation) and crop cooling pad needs (e.g., tomato height).
1. Height Control: 0.6m-2.4m, Aligned with Crops/Equipment
Cooling pad height must be 0.6m-2.4m. Below 0.6m limits air intake; above 2.4m increases installation difficulty/cost and causes uneven air distribution (cool air concentrates upper, leaving middle/lower tomato canopies hot). For multi-span plastic greenhouses , adjust height by crop and equipment: cooling pad in tomato greenhouses with elevated seedling beds (0.8-1.2m), install cooling pads at 1.2-1.8m to direct cooling fan to seedling canopies.
2. Position Selection: Summer Wind Direction & Lighting
Two key factors for cooling pad placement:
Summer prevailing wind direction: Inlet should face summer winds (e.g., northeast in northern China, southeast in southern China) to use natural wind pressure, reducing cooling pad fan load. Against-wind inlets cause backflow, cutting efficiency by 15%-20%.
Lighting impact: Avoid blocking main light sources (e.g., south transparent film, LED grow lights). In tomato plastic greenhouses, insufficient light weakens seedlings and delays ripening—ensure tomatoes get ≥8 hours of daily light.
3. Inlet Design: Winter Closure Without Disassembly
To prevent winter heat loss, design inlets for easy closure plastic greenhouse without removing cooling pads:
4. Height Difference Adjustment
If cooling pad height exceeds inlet height (common in multi-span greenhouses), space them by at least 1/2 the height difference. E.g., 2.4m pad + 1.8m inlet (0.6m difference) needs ≥0.3m spacing. Prevents inlet turbulence, ensures smooth airflow, and cooling fan avoids high humidity (which causes tomato gray mold).
3、Installation Standards for Cooling Fans
Cooling fans discharge hot air; their layout affects exhaust speed and air stability. Poor spacing or obstacles reduce efficiency.
1. Spacing on Same Wall: Max 7.6m
Multiple cooling fans on one wall (e.g., plastic greenhouse south wall) need ≤7.6m between adjacent units. This overlaps exhaust coverage, avoiding hot air dead zones. In 15-20m cooling fan wide plastic greenhouse, 2-3 fans (6-7m apart) ensure full exhaust and east-west temperature uniformity.
2. Distance from Obstacles: ≥4x Fan Diameter
Exhaust ports need ≥4x fan diameter distance from obstacles (e.g., support columns, adjacent greenhouses). E.g., 1.2m diameter fans need ≥4.8m clearance. Prevents hot air backflow; in dense plastic greenhouse, this avoids fruit sunscald from high temps.
4、Synergy with Tomato Growth
Cooling system layout must align with tomato growth and plastic greenhouse environment:
Following these standards lets plastic greenhouse cooling systems regulate temps effectively, create ideal tomato growing conditions, and boost cooling pad yield/quality. It also cuts energy use (saves 10%-15% on electricity vs. poor layout) and extends equipment life.
